DragonSword: Awakening Tag Combos
Quick answer
A tag combo in DragonSword: Awakening is a chain of hero swaps where each incoming hero's Signal Skill answers the ailment left by the previous one. Apply an ailment, swap on the prompt for the automatic follow-up, and let the new state prompt your third hero. A completed three-hero chain does several times the damage of attacking normally.
Updated · Verified on Patch 1.0.x · Sources: in-game testing, Steam store page, Hound13 announcements
The tag combo is the payoff for everything else in DragonSword: Awakening's combat. Individually, your heroes are unremarkable. Chained correctly, they are several times more damaging.
The anatomy of a tag combo
A complete DragonSword: Awakening tag combo has three links and looks like this:
- Hero A applies. Attack until a status ailment lands.
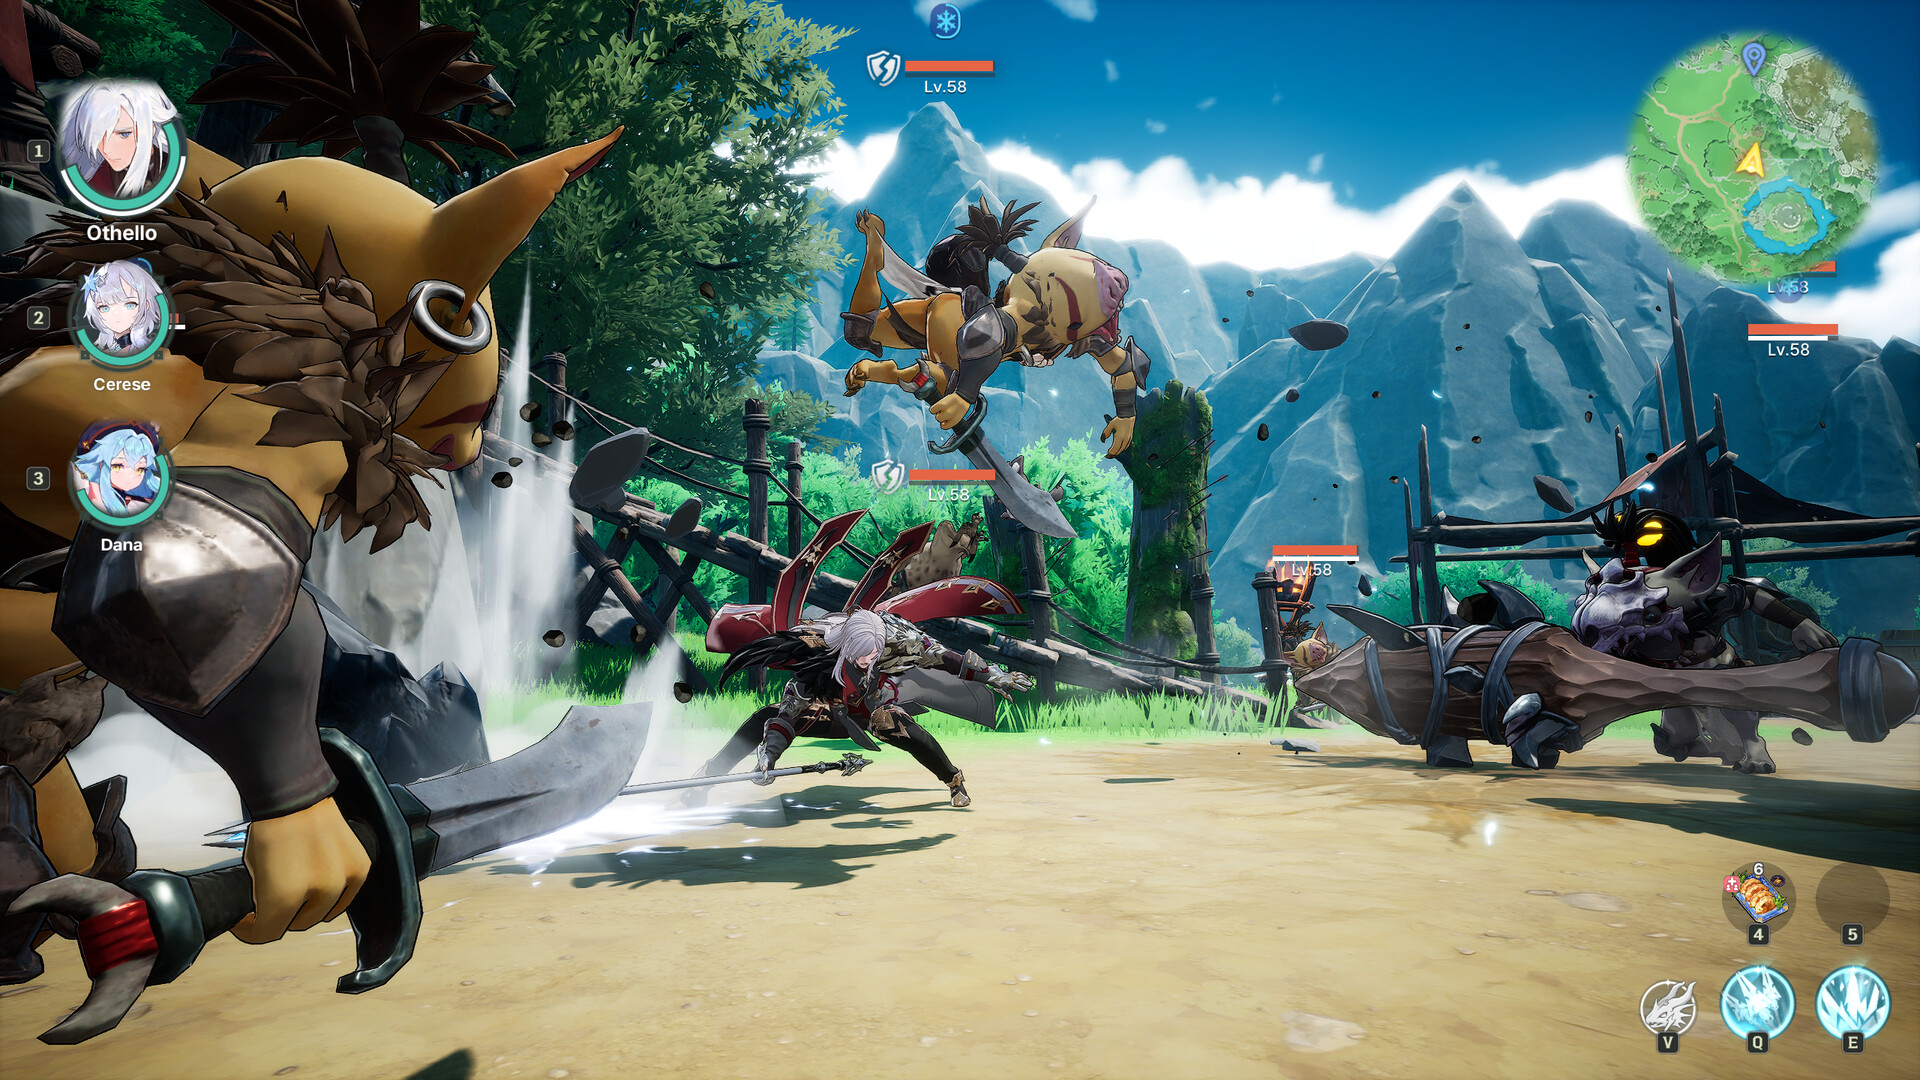
- Hero B answers. Their Signal Skill prompt appears. Swap. They enter with an automatic follow-up, which consumes the ailment and usually leaves a new state — a stagger, a knockdown, a launch.
- Hero C detonates. That new state prompts your third hero. Swap again. This is where the damage concentrates.
You can then rotate back to hero A and start again. Against a staggered boss, a second rotation inside the same Break window is where the largest numbers in DragonSword: Awakening happen.
Three rotations that work
These are written as roles rather than named heroes, so they apply whatever your roster looks like.
Rotation 1 — Freeze relay (highest damage)
Freeze applicator → Break specialist → Bleed burst.
Freeze locks the target for roughly 3–5 seconds, which is enough uninterrupted time to build the Break gauge without being knocked out of it. Break opens the widest damage window in DragonSword: Awakening, and a Bleed detonator converts that window into scaling damage. Cerese is the standard opener here.
Rotation 2 — Ground and punish
Knockdown applicator → Shock → Airborne launcher.
Shock specifically punishes downed targets, so the order matters more than usual: put the enemy on the ground first, then apply Shock, then launch to reset into aerial pressure. Weaker against enemies that resist knockdown, excellent against ordinary field packs.
Rotation 3 — Stun and stack (most forgiving)
Stun applicator → Burn stacker → Break.
Stun buys 2–4 seconds of guaranteed uptime, which is exactly what a Burn hero needs to build stacks. Slower than the Freeze relay but far easier to execute, and the one to learn the timing on if the system has not clicked yet.
What breaks a chain
| Mistake | What happens | Fix |
|---|---|---|
| Swapping before the prompt appears | Ordinary swap, no follow-up, ailment wasted | React to the portrait prompt, not the gauge |
| Three heroes who apply the same ailment | You apply fast, then nobody answers | Build a cycle — see team builder |
| Attacking through the follow-up animation | You interrupt your own scripted hit | Let the follow-up finish before inputting |
| Getting hit mid-chain | Chain drops, ailment often lost | Dodge out and restart rather than trading |
| Frame-time spikes | The window closes before you react | See FPS fixes |
Extending a chain past three heroes
Once you have looped back to your first hero, the chain does not automatically end. The limiting factor is whether the enemy still has an ailment your next hero answers. Two things extend chains in practice:
Ailment Buildup Rate gear on your setup hero. Faster re-application means the cycle restarts before the enemy recovers. This is why Buildup Rate is the priority affix on setup heroes in upgrade priority.
Break timing. Landing Break in the middle of a rotation rather than at the end lets you fit a second full rotation inside the stagger. This is the main difference between competent play and optimised play in Tower of Trials.
Practising the timing
DragonSword: Awakening's prompt window is short and reaction-based, so practise it somewhere cheap:
- Use ordinary field enemies rather than bosses — bosses interrupt you while you are still learning.
- Turn HUD and prompt scale up first.
- Watch the portraits, not the enemy. Everything you need to react to is on the left of the screen.
- Do not lower Effects Quality; the cues are VFX. See best settings.
FAQ
What is a tag combo in DragonSword: Awakening?
A chain of hero swaps in which each incoming hero's Signal Skill answers the status ailment left by the previous hero, producing automatic high-damage follow-ups at each link.
How do I do a tag combo?
Apply an ailment, wait for the Signal Skill prompt over a benched hero, swap to them for the automatic follow-up, then swap again when the resulting state prompts your third hero.
What is the best tag combo rotation?
Freeze into Break into Bleed is the highest-damage general rotation, because Freeze provides uninterrupted time to build Break and Bleed detonates the resulting window.
Why does my tag combo keep dropping?
Most often you are swapping before the prompt appears, your three heroes do not form a complete ailment cycle, or you are being interrupted mid-chain.