DragonSword: Awakening Status Ailments
Quick answer
DragonSword: Awakening has nine status ailments split into two families. Physical covers Stun, Down, Airborne and Break; elemental covers Burn, Chill (Freeze), Poison, Shock and Bleed. Each ailment opens a Signal Skill prompt for benched heroes whose skills answer it, which is how tag combos start.
Updated · Verified on Patch 1.0.x · Sources: in-game testing, Steam store page, Hound13 announcements
Status ailments are not a side mechanic in DragonSword: Awakening. They are the whole combat system: they gate the Signal Skill prompts, which gate the tag swaps, which is where your damage comes from.
The nine ailments at a glance
| Ailment | Family | Effect | Typically applied by |
|---|---|---|---|
| Stun | Physical | Interrupts the enemy's current attack and immobilises them for roughly 2–4 seconds | Heavy blunt attacks; perfect-parrying certain physical strikes |
| Down / Knockdown | Physical | Puts the target on the ground, opening ground-only follow-ups | Heavy impact finishers |
| Airborne | Physical | Launches the target upward for aerial follow-ups | Launcher skills — Eileen's halberd work is the clearest example |
| Break | Physical | Full stagger. The largest damage window in the game | Sustained pressure on the Break gauge |
| Burn | Elemental | Damage over time, escalates with stacking | Fire heroes such as Kalsion |
| Chill / Freeze | Elemental | Halts movement and action entirely for roughly 3–5 seconds | Sustained frost damage — Cerese is the primary applicator |
| Poison | Elemental | Damage over time, useful against high-health targets | Poison-element skills |
| Shock | Elemental | Punishes downed targets specifically; strong against Knockdown | Holy and electric abilities such as Sion's Divine Crash |
| Bleed | Elemental | Scaling damage over time, the common burst detonator | Fast multi-hit attackers |
On completeness. The nine-ailment split above comes from DragonSword: Awakening's own combat tutorial. Per-hero application data is verified for the heroes we have tested directly; the roster page marks entries that are still Partial rather than guessing at them. We would rather publish a visible gap than a confident error — several competing sites list mutually contradictory ailment assignments.
Physical versus elemental: why the split matters
Physical ailments control the enemy. Stun, Down, Airborne and Break all take actions away from the target. They are what keep a boss from completing its attack pattern, and they are the reason a team without physical setup feels like it is being bullied even when its damage is fine.
Elemental ailments escalate damage. Burn, Poison and Bleed tick. Chill and Shock gate specific follow-ups. They are your scaling, but they do not protect you.
Bosses frequently resist one family more than the other. A team built entirely around elemental setup will hit a wall on encounters that shrug off damage-over-time, and a purely physical team will stall on high-health targets. Covering both is the practical reason the three-role composition works.
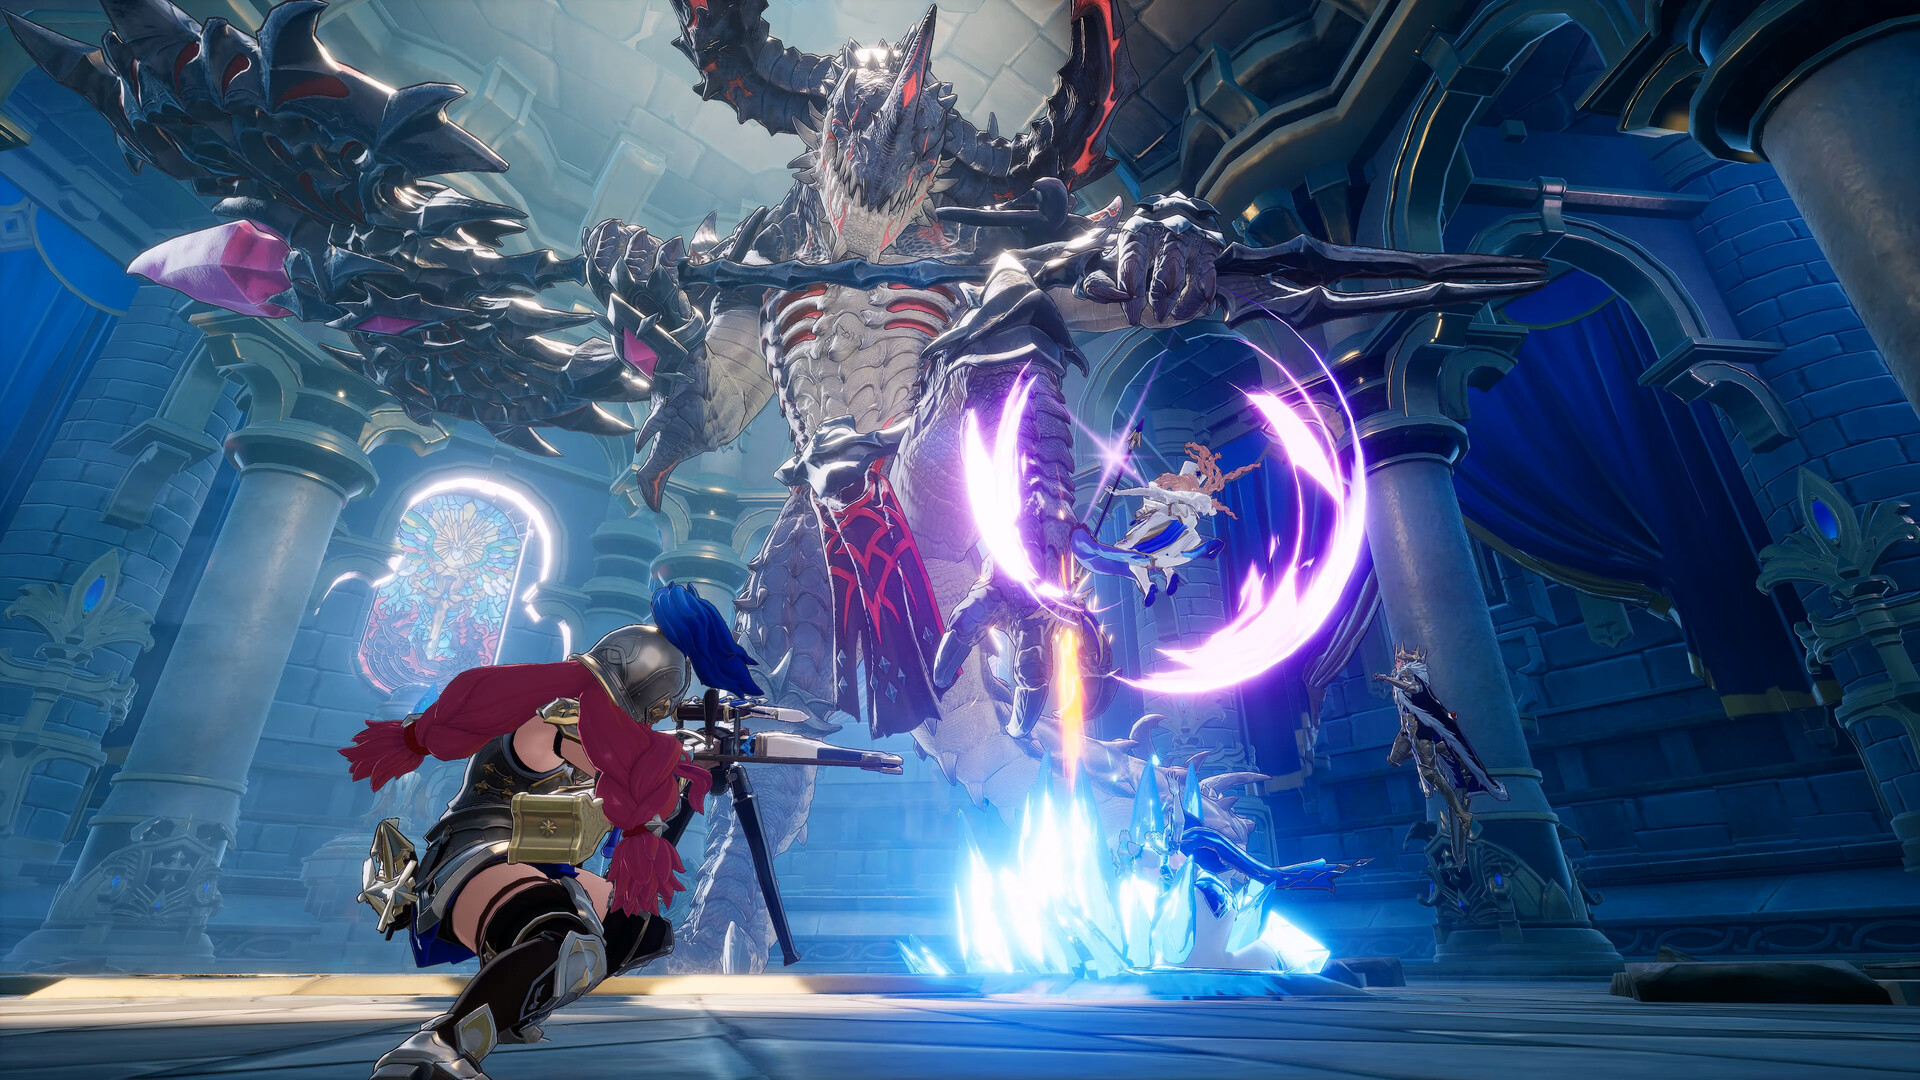
Ailment chains that actually work
Three reliable chains, expressed as roles rather than specific heroes so they apply to whatever roster you have:
Freeze → Break → Bleed. Freeze locks the target for 3–5 seconds, which is long enough to build the Break gauge without being interrupted. Break opens the big window, and Bleed detonates it. This is the highest-damage generic chain in DragonSword: Awakening and the reason Cerese appears in so many teams.
Knockdown → Shock → Airborne. Shock specifically punishes downed targets, so putting the enemy on the ground first turns it from a modest ailment into a large one. Follow with a launcher to reset into aerial pressure.
Stun → Burn stacking → Break. Stun buys 2–4 seconds of uninterrupted uptime, which is exactly what a Burn applicator needs to stack. Slower, but it is the most forgiving chain to execute and a good one to learn on.
Ailment Buildup Rate: the stat that changes builds
Ailment Buildup Rate is the gear affix that determines how fast your ailment gauges fill. It is the single most important stat on a setup hero, because the difference between applying an ailment in one skill cast versus two is a completely different rotation length.
Prioritise it on your setup hero. Prioritise raw damage on your burst hero. Putting Buildup Rate on a burst hero, or damage affixes on a setup hero, is the most common gearing mistake in DragonSword: Awakening — see upgrade priority.
Common mistakes
- Swapping when the gauge fills, not when the prompt appears. The follow-up only triggers on the prompt. Early swaps waste the ailment.
- Stacking three heroes who all apply the same ailment. You will apply it very fast and then have nothing that answers it.
- Ignoring Break on bosses. Elemental damage-over-time alone will not out-pace boss health scaling in Tower of Trials.
- Lowering Effects Quality. Ailment build-up is shown through VFX. See best settings.
FAQ
How many status ailments are in DragonSword: Awakening?
Nine. Physical covers Stun, Down, Airborne and Break. Elemental covers Burn, Chill (Freeze), Poison, Shock and Bleed.
What does Freeze do in DragonSword: Awakening?
Freeze halts the target's movement and actions entirely for roughly 3–5 seconds, applied through sustained frost damage. It is the best setup window for building Break.
What does Shock do in DragonSword: Awakening?
Shock is applied by holy and electric abilities and specifically punishes downed targets, which makes it strongest when paired with a Knockdown applicator.
What does Stun do in DragonSword: Awakening?
Stun interrupts the enemy's current attack and immobilises them for roughly 2–4 seconds. It comes from heavy blunt attacks and from perfect-parrying certain physical strikes.
What is the best status ailment chain?
Freeze into Break into Bleed is the strongest general-purpose chain, because Freeze gives you uninterrupted time to build Break and Bleed detonates the resulting window.